
The complete guide
How to Choose and Use a Bike Tow Dog Leash
The problem with holding a lead while you cycle
Anyone who has tried it knows how it goes. You set off with the lead wrapped around one hand, your dog drifts toward the back wheel, and the lead goes slack and then tight in a rhythm you cannot predict. Then something interesting appears on the far side of the path and your dog commits to it at full force. Your arm goes with them and so does the front wheel.
The trouble is not your dog. The trouble is that a human hand is a terrible anchor point for a pulling animal when you are balanced on two wheels. Your hands are already doing a job: steering, braking, holding you up. Adding a second job that can yank sideways without warning is asking for a fall.
A bike tow dog leash moves the anchor point. Instead of running from your hand, the lead runs from a fixed arm bolted to the bike frame near the rear wheel. The pull now arrives low down, behind the steering, and off to one side. The bike resists it far better than your wrist ever could, and your hands get to stay on the bars doing what they are meant to do.
How the arm and bungee work together
There are two separate ideas at work in this product, and both matter.
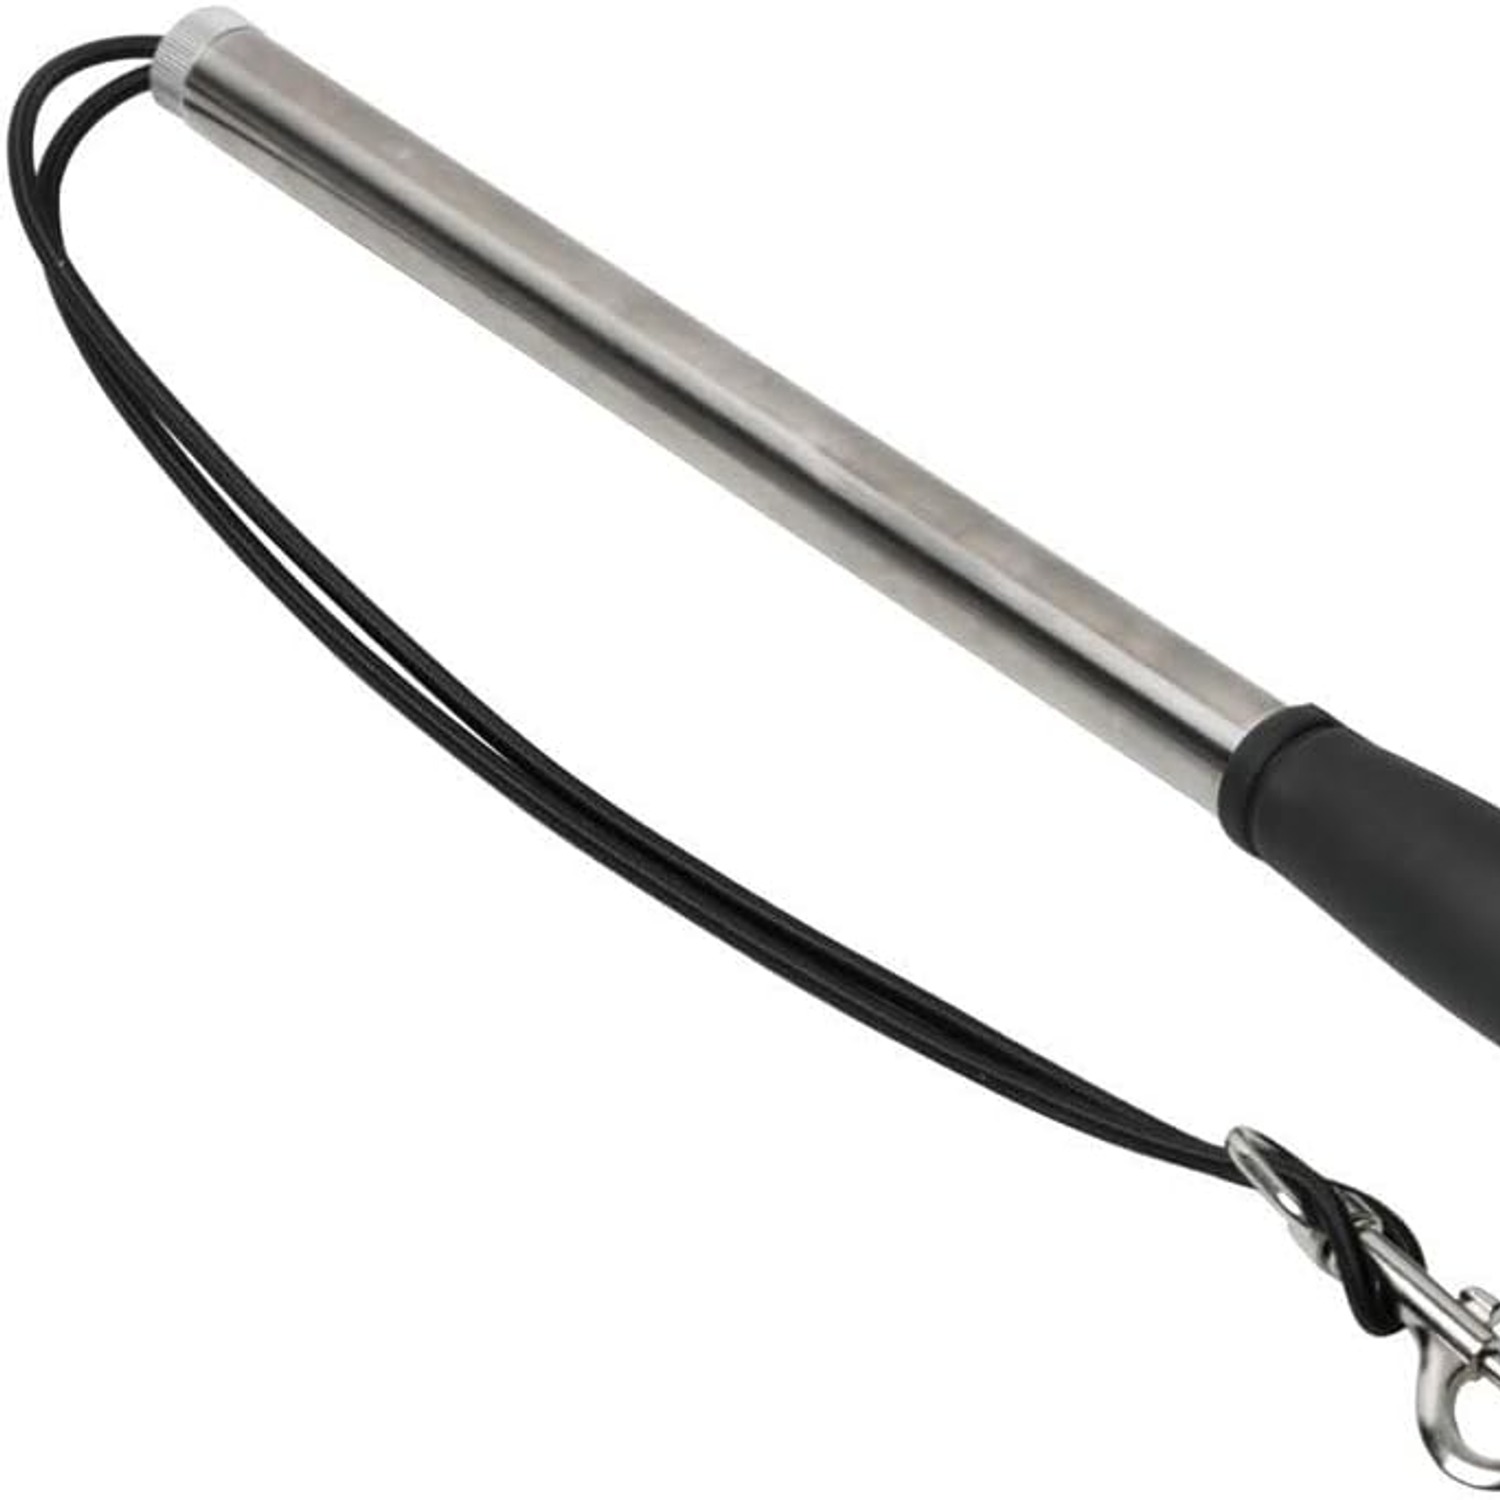
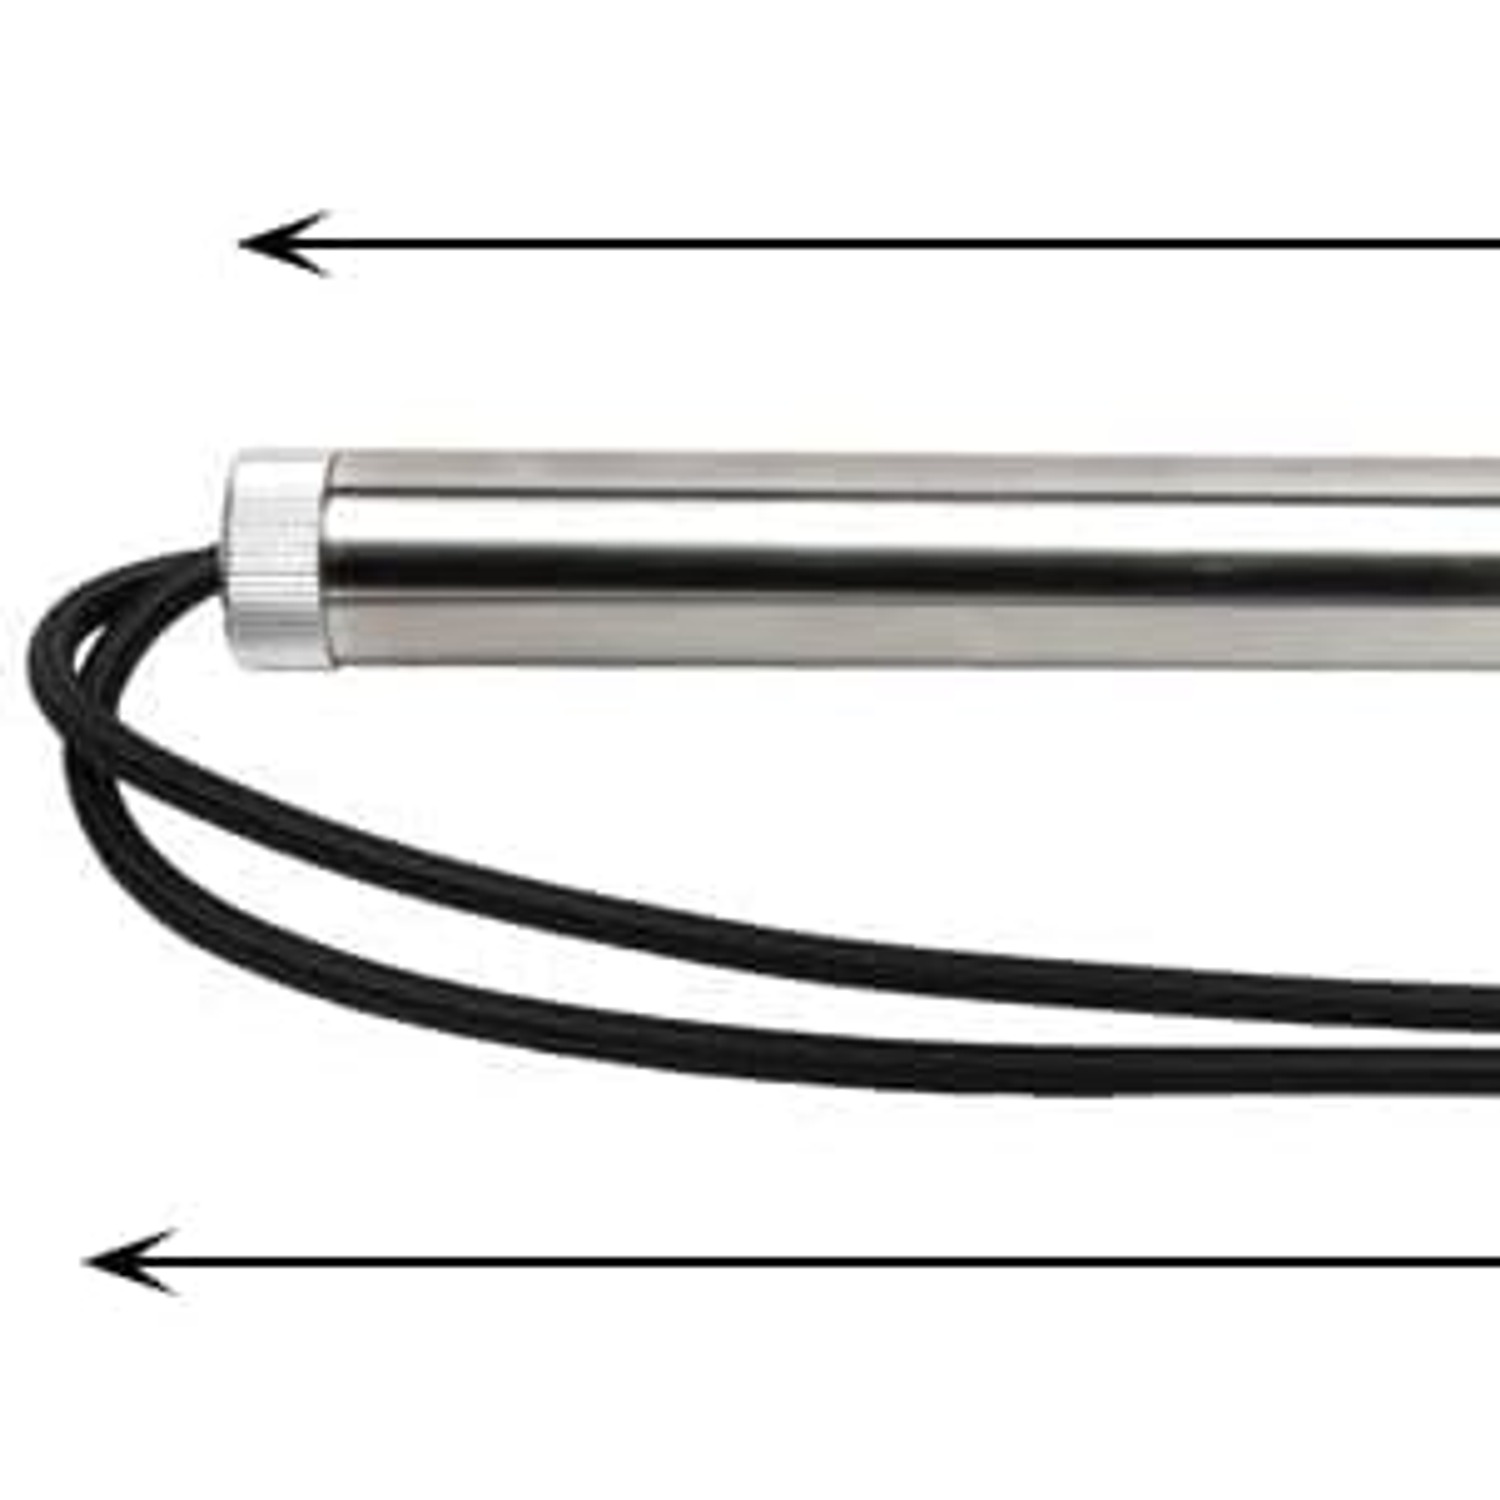
The first is the arm. This one is stainless steel, with a tube of 42.5cm, and its only job is geometry. It pushes the attachment point out sideways so your dog has a lane of their own. Without it, the lead would drape down toward the chain and the spokes, which is exactly where you do not want a lead. Stainless is a sensible choice for a part that lives outdoors and gets rained on. Painted mild steel chips, and once it chips it rusts.
The second idea is the bungee. Dogs do not accelerate the way a person does. They go from standing still to flat out in a stride and a half, and all of that force arrives in one spike. A lead with no give passes that spike straight into the frame, which translates into a sharp tug on your line of travel. The elastic section stretches first and spreads the same amount of force over a longer stretch of time. You still feel it, but it becomes a lean rather than a jolt, and a lean is something you can ride out.
Together they mean a lunge becomes an event you notice rather than an event that ends the ride.
Setting the length for your dog
The lead adjusts from 40cm to 115cm, and most of the value of that range comes down to matching your dog and your route.
Keep it short, nearer the 40cm end, when you are on a narrow path, near a road, or when your dog is still learning the job. A short tether means they cannot swing wide into traffic or cut across in front of the wheel. It feels restrictive for the first few rides and then both of you stop noticing.
Let it out toward the longer end for a big dog with a long stride, or for open trails where there is nothing to catch on. A dog who can set their own rhythm will be more comfortable and will settle into the pace faster. If you are hunting for the best dog bike running attachment for a tall breed, the adjustable range is the feature worth paying attention to.
Set it, ride a loop, and adjust once. After that you rarely touch it again.
Who this suits, and who it does not
This works well for a healthy adult dog with energy to burn and a bit of lead manners already in place. Breeds built for trotting distance, and any dog who gets restless after a normal walk, usually take to it quickly.
It is less suitable in a few cases. Puppies should wait until their growth plates have closed, and the timing for that varies a lot by breed, so ask your vet rather than guessing. Older dogs and dogs with hip or joint problems should be checked first too. Very small or short-legged dogs can struggle to maintain even a slow cycling pace, and they are usually happier in a basket or a trailer.
And it is worth saying plainly: no attachment makes a reactive dog safe on a road. If your dog cannot cope with passing cars, bikes or other dogs, sort that out on foot first. The best bike attachment for dog walking in the world does not replace training.
Getting started without a drama
Fit the arm so your dog runs on the side away from traffic and keep that side consistent. Dogs learn position quickly if you do not keep changing it.
Use a harness, not a collar. A collar puts all of the force on the neck, and that is not where you want it when the other end of the lead is bolted to a moving bike. A properly fitted harness spreads the load across the chest.
Then do the boring version first. Walk the bike with your dog attached. Let them sniff the frame and get used to the arm being there. Then ride a few slow minutes somewhere empty, like a quiet car park or a field edge. Build from ten minutes up over a couple of weeks. The point is to let your dog learn that the bike is just a thing that moves at a steady pace beside them.
Pace matters more than distance. Ride at your dog's trot, not your own cruising speed. If they are galloping to keep up, you are going too fast. Watch for heavy panting, a dropping head, or a change in gait, and finish while they still look fresh.
Weather, surfaces and the sensible stuff
Hot days are the main hazard. Tarmac holds heat long after the sun has dipped, and a dog trotting beside a bike builds heat faster than one walking. Ride early morning or in the evening, carry water, and skip the ride entirely on the hottest days.
Grit, salt and mud are the other thing to think about. Stainless resists rust, but road salt and sand will still work their way into clips and threads. A rinse with fresh water and a wipe down after a bad ride takes a minute and adds months of life to the hardware.
Care and checks
Before each ride, give the clamp bolts a quick check and tighten anything that has worked loose. Vibration does that over time and it is easy to miss.
Look over the lead itself regularly. You are checking for fraying webbing, thinning stitching at the stress points, and a bungee that has lost its spring. A clip that sticks or does not close fully needs replacing, not persevering with.
Store it somewhere dry when it is not in use. Leaving the whole thing clamped on the bike outdoors through a wet season is the fastest way to tire out the cord and webbing.
Do not machine wash or tumble dry the lead. Hand rinse, wipe, hang to dry.
The short version
A bike tow dog leash takes the lead out of your hands and bolts it to the bike, which is where it belongs. This one pairs a rustproof stainless steel arm with a bungee lead that absorbs the sudden pulls, and it adjusts from 40cm to 115cm so you can set it to your dog rather than the other way around. When you are done riding, the lead unscrews and becomes a walking lead, so it earns its space.
Use a harness. Start slow and short. Ride at your dog's pace, not yours. Rinse it after wet rides and check the bolts before you set off. Do those few things and you turn a frustrating walk around the block into a proper run that actually tires your dog out.